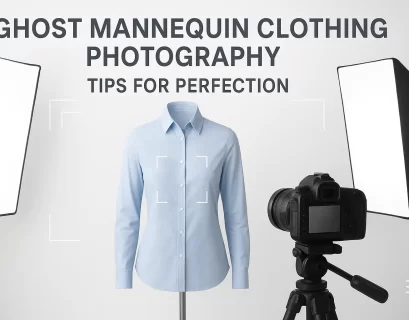
In the world of graphic design, visual presentation plays a crucial role in how your work is perceived. Whether you’re designing product catalogs, brochures, magazines, or advertisements, smooth and exactly placed pics can raise your format from everyday to professional. One of the best methods to achieve that is by means of using clipping paths, specifically while working with Adobe InDesign.
Many designers also rely upon clipping path services to prepare their snap shots for InDesign projects, making sure a wonderful, heritage-unfastened finish that saves time and complements the very last product. In this newsletter, we can dive deep into how clipping paths paintings in InDesign, why they’re vital, and the manner to use them efficaciously with actual-world examples.
What Is a Clipping Path?
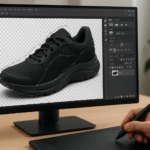
A clipping path is a closed vector form or shape which restricts to view only a section of an image because it has been intentionally masked. Everything past the path becomes border less when the mask is applied. This method is frequently applied in removing backgrounds from images in order to keep only the part that was intended to be included such as products, persons or logos.
As always, clipping paths are often built with image editing tools like Adobe Photoshop. These images are cropped using InDesign where only relevant sections will remain after cropping at given layout programs.
In this example, the outline for any shaped product determines how complex or simplistic it shall be possessing differences in detailism . A square shaped book requires minimal effort while settings that includes more attention will have objects deemed more complex like bicycles take longer time.
Why Are Clipping Paths Important in InDesign?
While working in Adobe InDesign, the purpose is to acquire advanced and polished layouts. Whether it’s miles advertising and marketing substances, magazines, product catalogs or marketing banners, imagery desires to be visually attractive and complex. Unfortunately, many photos that want editing include distracting backgrounds and overlay images that intrude with the undertaking handy.
In this situation clipping paths would be your first-class bet. They allow you to insert photos with no heritage which allows complete manage in spacing and design composition integration of seamless circulate your InDesign layouts.
If time is constrained or there are others factors stopping The Work from getting performed like talents gaps inhibiting the advent of Clipping Paths then out of doors help may be well-known wherein they may be ready background unfastened excessive great edited images immediately usable on InDesign within seconds.
How to Use Clipping Paths in InDesign: Step-by-Step Example
Adobe InDesign offers built-in support for clipping paths, especially for images that already contain paths created in Photoshop. Here’s a step-by-step example, inspired by Adobe’s official InDesign guide, to show you how to apply a clipping path:
Step 1: Prepare Your Image
Before placing the image into InDesign, it’s best to create a clipping path in Photoshop. You can do this manually using the Pen Tool or by hiring a professional clipping path service to ensure accuracy, especially for complex images.
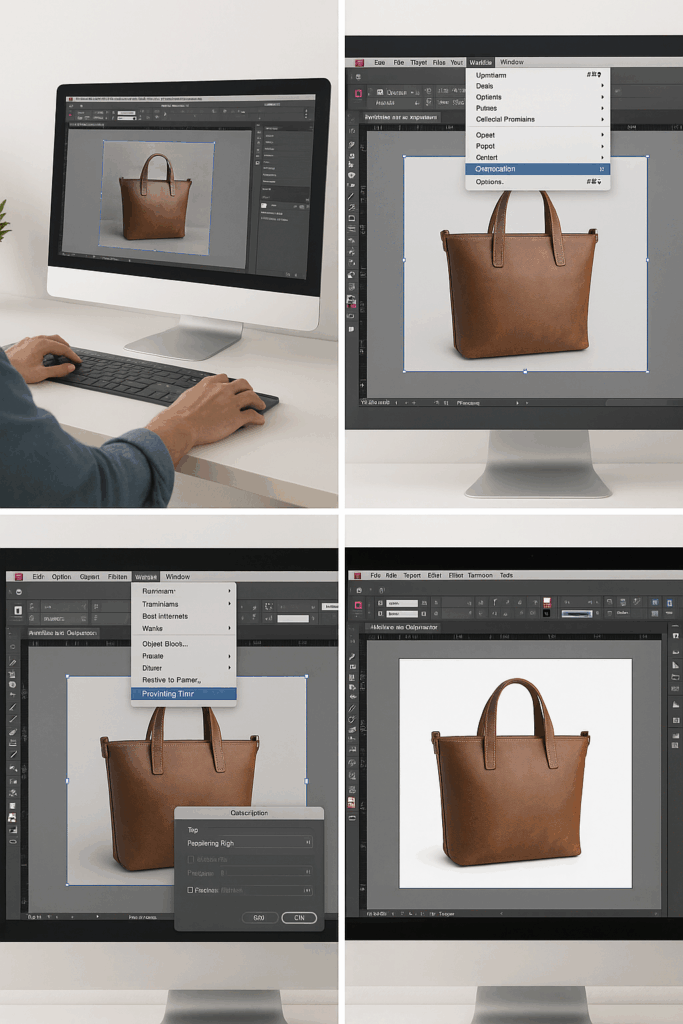
Step 2: Place the Image into InDesign
- Open your InDesign project.
- Go to File > Place, select the prepared image (preferably a PSD or TIFF file with a saved path), and click to insert it into your layout.
Step 3: Apply the Clipping Path
- Select the image with the Selection Tool.
- Go to Object > Clipping Path > Options.
- In the Clipping Path dialog box, set the Type to Photoshop Path.
- If multiple paths are available, select the one you want to apply.
Step 4: Adjust the Clipping Path
You can further refine how the path is applied using options like:
- Inset Frame: Moves the visible area inward or outward.
- Threshold (for alpha channels): Adjusts sensitivity for transparent areas.
Once satisfied, click OK to apply the clipping path.
Step 5: Final Layout Adjustments
With the background removed, you can position the isolated object anywhere within your layout. You can also layer text, backgrounds, or other design elements behind the image for a clean, integrated look.
Benefits of Using Clipping Paths in InDesign
1. Professional, Clean Layouts
Images with transparent backgrounds create a polished and modern appearance, free from awkward borders or background mismatches.
2. Design Flexibility
Clipping paths give you the freedom to position images anywhere, layer them with other design elements, or use them over colored or textured backgrounds without visual issues.
3. Time-Saving Workflow
When images come pre-edited with clipping paths, you save hours of manual editing within InDesign.
4. Consistency Across Projects
By preparing all your images with precise clipping paths, you ensure a uniform, professional look across catalogs, brochures, and marketing materials.
5. Simplified Printing and Exporting
Images with properly applied clipping paths avoid printing errors and reduce file size, making them ideal for both digital and print designs.
Why Use Professional Clipping Path Services?
The crafting of paths for images that need to be outlined can be done manually, but it is particularly tedious when dealing with components such as hair, jewelry or sophisticated pieces.
This is the specific need that clipping path services tend to address. Their skilled operators employ sophisticated methods to generate immaculate, pixel-level exact outlines. They produce ready-to-use photographs which blend effortlessly into your InDesign designs, saving time and preventing expensive errors.
Common industries that rely heavily on clipping paths include:
✅ E-commerce and product catalogs
✅ Fashion and apparel lookbooks
✅ Real estate brochures
✅ Magazines and editorial layouts
✅ Print advertisements and banners
By outsourcing your image editing to experts, you can focus on design creativity while ensuring flawless results.
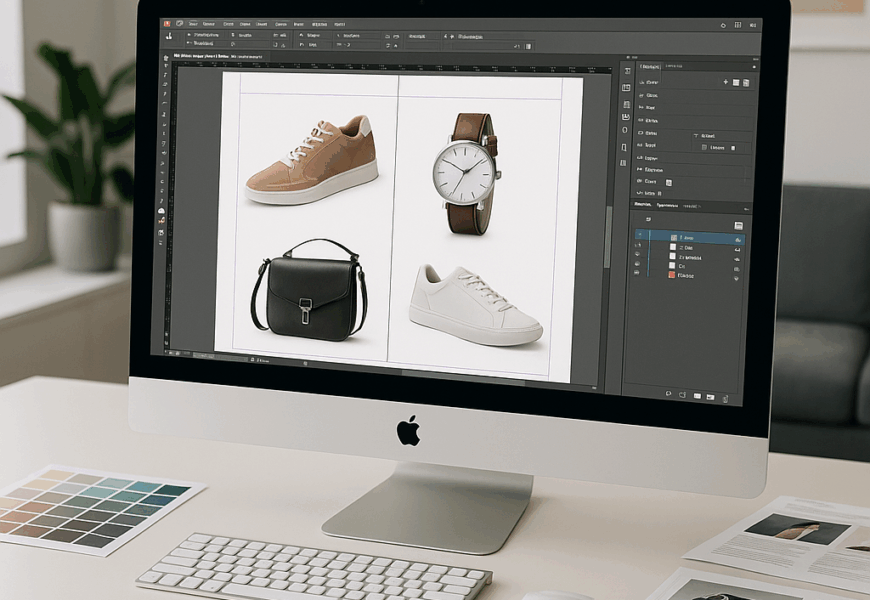
Real-World Example: Product Catalog Design
Picture building an InDesign product catalog for an e-trade business enterprise. You acquire a slew of product pics, but sadly the pix have cluttered backgrounds.Rather than having to individually cut every picture, you send them off to be clipped. The service returns fantastic pics without unnecessary backgrounds which can be used at once inside the InDesign layout.
Following the stairs above, making use of clipping paths is executed hastily, merchandise positioned appropriately and final touches brought with a bit of luck even as knowing the catalog will look neat and professional.
Conclusion
In the context of picture layout, studying clipping paths in InDesign is crucial for accomplishing clean and polished layouts. Isolated snap shots along with pics, deliver a sophisticated look that is captivating. This is specially useful while you are designing catalogs, advertisements or editorial pieces.
Though you can do the clipping paths in your very own, outsourcing it to professional clipping path businesses can assure precision while saving time and allowing you to supply great outcomes for each project.
With Ids with correct photo isolation ,InDesign’s powerful format equipment will allow your designs not most effective communicate for themselves but enhance the performance of your workflow.