
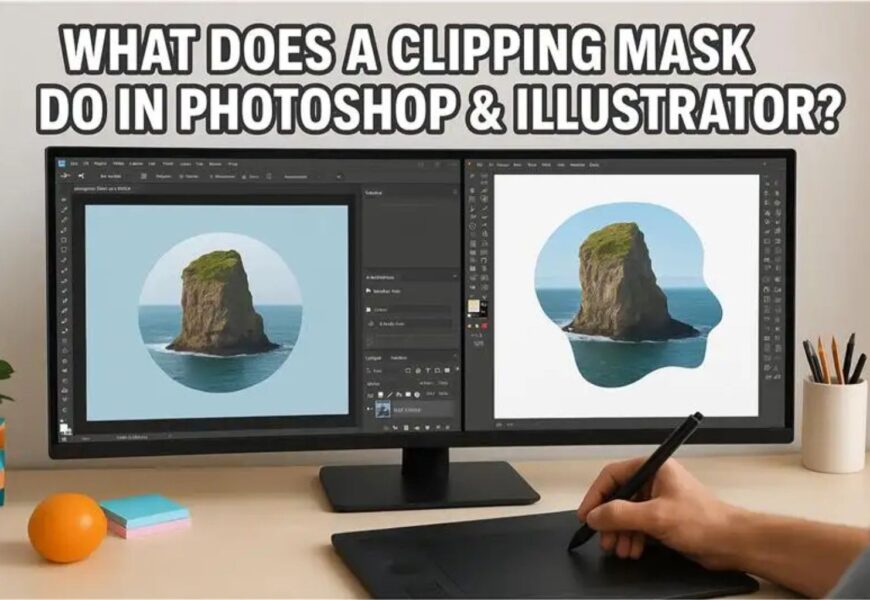
In the sector of graphic layout, images, and virtual art, the potential to control which components of an photo are visible is crucial. Whether you’re developing a advertising and marketing banner, modifying e-trade product images, or designing a social media picture, one tool that frequently involves the rescue is the clipping mask.
If you’ve ever scratched your head wondering “What does a clipping mask do?”, you’re inside the right location. In this article, we’ll spoil it down step-through-step, discover its uses in both Photoshop and Illustrator, and notice why it’s an critical a part of clipping path services for groups and designers.
What Is a Clipping Mask?
A clipping mask is a function in a photograph layout software application that uses the shape of one layer to manipulate the visibility of some other layer. In easy phrases, it’s like the use of a stencil: only the components of the layer that fall within the shape of the “mask” can be visible, and the entirety out of doors might be hidden.
- In Photoshop, the clipping mask is commonly created the use of multiple layers — one layer defines the seen region, and the opposite carries the content material you want to display.
- In Illustrator, clipping masks paintings with vector shapes and paths, defining visibility primarily based on the topmost item.
This is specifically useful for clipping direction services, in which precision is fundamental for setting apart products or subjects in expert modifying workflows.
Why Clipping Masks Are Important in Design and Editing
Clipping masks are more than just a cool visual trick — they’re a vital tool in the designer’s toolkit. Here’s why:
- Non-Destructive Editing
Unlike erasing parts of an image, clipping masks don’t permanently delete anything. You can adjust or remove the mask at any time without losing original content. - Precise Control
You can control exactly where an image appears — whether inside text, shapes, or a complex path created through clipping path services. - Professional Presentation
Clipping masks help create clean, polished visuals for branding, product photography, and marketing materials. - Time Efficiency
They make it easy to edit multiple variations without manually cutting or cropping each time.
How Clipping Masks Work in Photoshop
Photoshop’s clipping mask feature is perfect for photo editing and creative design.
Step-by-Step Guide:
- Prepare Your Layers
Place the layer you want to show on top of the shape or text layer you’ll use as a mask. - Create the Clipping Mask
- Right-click the top layer and select “Create Clipping Mask”
- Or, use the shortcut: Alt + Ctrl + G (Windows) or Option + Command + G (Mac)
- Right-click the top layer and select “Create Clipping Mask”
- Adjust and Refine
Move the content or the mask layer to adjust visibility without altering the original image.
Example:
If you have a product image and want it to appear only inside a circle for a logo design, you’d use a circular shape layer as the mask and clip the image to it. This is often a step in clipping path services when creating marketing-ready product shots.
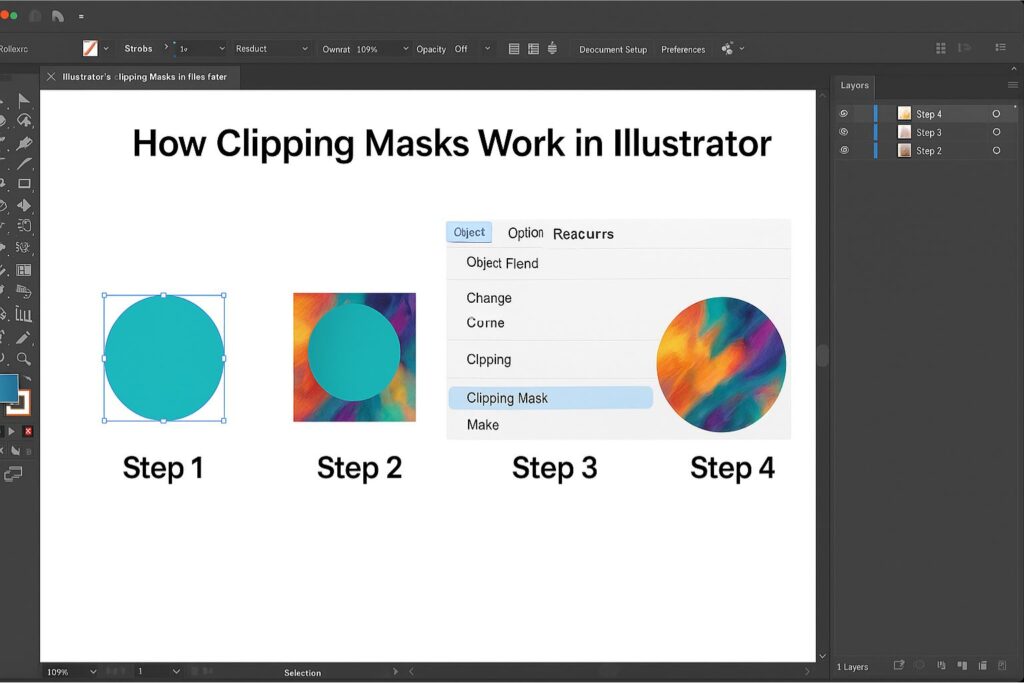
How Clipping Masks Work in Illustrator
Illustrator’s clipping masks are based totally on vector paths, making them best for scalable pics.
Step-by-Step Guide:
- Select Your Shape
The topmost object will define the visible area. This could be a simple shape or a complex vector path. - Place the Image or Artwork Behind It
Arrange your layers so the content is without delay beneath the masks shape. - Create the Clipping Mask
- Select both the mask shape and the artwork
- Go to Object > Clipping Mask > Make or press Ctrl + 7 (Windows) / Command + 7 (Mac)
- Select both the mask shape and the artwork
- Edit as Needed
You can enter isolation mode to adjust the mask or artwork independently.
Common Uses of Clipping Masks in Real Projects
Clipping masks are used in countless creative and professional applications:
1. Product Photography & E-commerce
For online stores, product images need a clean, distraction-free background. Clipping path services often use masks to place products on a pure white or custom-colored background.
2. Text Effects
You can fill text with images — like making the word “SUMMER” filled with a beach scene — for eye-catching graphics.
3. Marketing and Branding
Logos, flyers, and social media posts often use clipping masks to blend images into shapes that match brand themes.
4. Collages and Creative Layouts
Designers can use clipping masks to arrange multiple photos into interesting compositions without manually cutting and pasting.
5. UI/UX Design
Clipping masks help create custom-shaped buttons, icons, or backgrounds in app and web design.
Clipping Mask vs. Layer Mask – What’s the Difference?
It’s easy to confuse clipping masks with layer masks, but here’s the key difference:
- Clipping Mask: Uses the transparency of 1 layer to control the visibility of any other.
- Layer Mask: Uses grayscale values on a mask to control visibility, where white reveals and black hides.
In clipping path services, both tools are often used together — clipping masks for shape-based control, and layer masks for soft edge adjustments.
Tips for Using Clipping Masks Effectively
- Keep Layers Organized
Naming your layers makes it easier to keep track of masks and content. - Use High-Resolution Images
Especially for product photos, start with high-quality images to maintain sharpness. - Combine with Other Effects
You can pair clipping masks with gradients, drop shadows, or blending modes for creative results. - Stay Non-Destructive
Avoid flattening images too early; keep masks editable for future adjustments.
The Role of Clipping Masks in Clipping Path Services
Professional clipping direction offerings regularly cross past just drawing unique paths. They use clipping masks to:
- Apply multiple backgrounds to the identical product
- Create advertising mockups
- Merge product photographs with lifestyle photos
- Build geared up-to-use templates for e-commerce systems
For instance, if a purchaser sends 100 product snap shots, a clipping route provider issuer may use masks to quick create extraordinary promotional variations — one with a white historical past for the online keep, any other with a innovative historical past for social media.
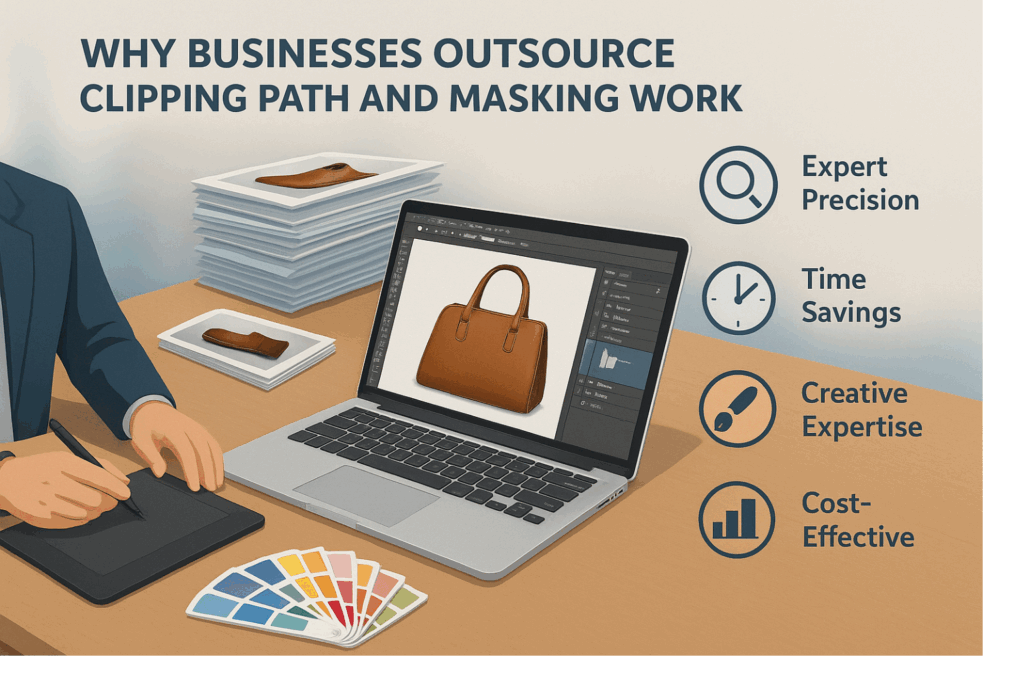
Why Businesses Outsource Clipping Path and Masking Work
While clipping masks are easy to use as soon as you know the way, growing amazing effects for loads or thousands of pix may be time-eating. This is why many groups lease clipping course offerings:
- Expert Precision: Professionals make sure ideal alignment and clean edges.
- Time Savings: Bulk processing with out sacrificing satisfactory.
- Creative Expertise: Designers understand a way to combo masks with different consequences for logo consistency.
- Cost-Effective: Hiring professionals can be greater affordable than preserving an in-residence design crew.
Final Thoughts
So, what does a clipping masks do in Photoshop and Illustrator? In essence, it’s a effective device for controlling visibility, permitting you to display snap shots internal shapes, textual content, or custom paths with out completely altering your content.
From creating glossy marketing materials to preparing flawless product photographs, clipping mask are at the coronary heart of modern-day clipping path services. Whether you’re a designer operating on a innovative mission or a business owner trying to improve product presentation, learning clipping mask can take your visuals to the following degree.
If you want pixel-perfect results without spending hours learning the fine details, partnering with a expert clipping path service provider may be your fastest direction to achievement.