Photoshop by Adobe is among the widely used photo editing software by photographers, graphic artists, and other creative people. Be it for editing your product images, designing social media graphics, removing unnecessary objects, or enhancing images, there is a lot in Photoshop that can help you in your endeavor.
But in case you are new to Photoshop, you may find it difficult to use the various features offered by the software. For instance, you could be having doubts about how you can crop an image, zoom in to see something in detail, merge layers, and so forth. Such things could confuse you a bit, but actually the learning process is quite easy.
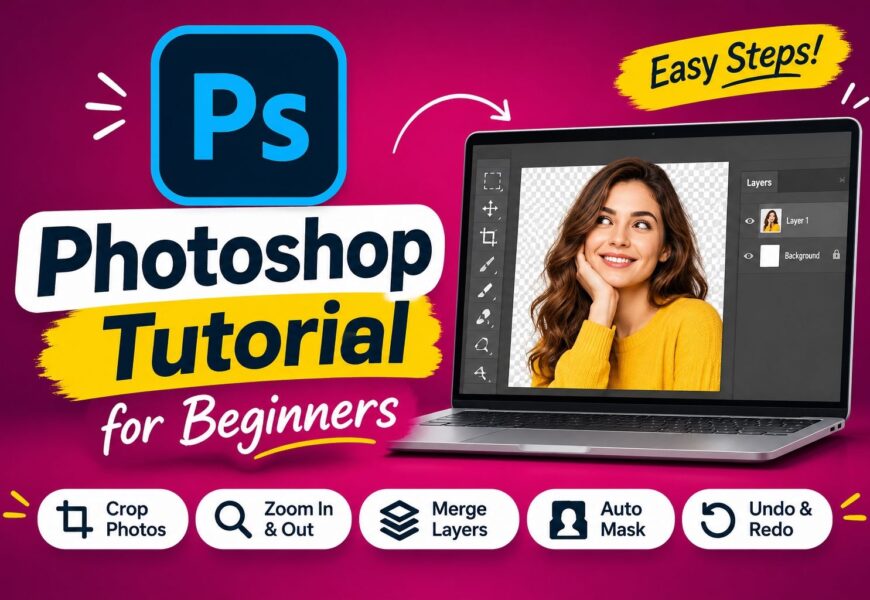
In this Photoshop Tutorial, we will introduce you to some of the most important tools that everyone should know while using Photoshop. You will also get information on Photoshop alternatives and how different features simplify your work.
What Is Adobe Photoshop?
Adobe Photoshop is an advanced program for photo manipulation and graphic designing. It enables the user to edit pictures, change colors, eliminate backgrounds, make digital drawings, and design images.
It is extensively applied in a variety of sectors such as photography, advertising, eCommerce, fashion designing, and digital marketing.
Some common things you can do with Photoshop include:
- Photo Editing: Improve image quality by adjusting brightness, contrast, sharpness, and colors.
- Background Removal: Remove unwanted backgrounds and replace them with new ones.
- Image Retouching: Fix skin imperfections, remove spots, and improve the overall appearance of photographs.
- Graphic Design: Create banners, posters, social media posts, and promotional graphics.
- Product Photo Editing: Prepare clean and professional product images for online stores.
- Creative Effects: Add shadows, filters, text, and other effects to make images more attractive.
You don’t have to master everything in one go. Start with the basic tools and gradually explore more advanced features as you become comfortable.
1. How to Crop in Photoshop
One of the first editing tools that a novice must learn is cropping. Applying this method enables you to eliminate extraneous elements from an image and focus on the subject.
In case of having a photograph of some product with lots of unused space, the tool will allow you to make it look better.
Steps to Crop an Image in Photoshop
- Open Adobe Photoshop and load the image you want to edit.
- Select the Crop Tool from the toolbar on the left side. You can also press the C key on your keyboard.
- A cropping border will appear around your image.
- Drag the corners or edges of the border to select the area you want to keep.
- Adjust the crop area until you are happy with the composition.
- Press Enter or click the checkmark in the options bar to apply the crop.
You can also select different aspect ratios, such as 1:1 for square images or 16:9 for landscape designs.
How to Crop a Photo in Photoshop Without Losing Quality
In case you need to crop an image while keeping it of decent quality, it will be better to do it with the original high-quality photo.
Do not enlarge your cropped image too much, otherwise it will look either blurred or pixelated. You should also save a copy of your edited image in order to keep your original photograph intact.
The cropping tool is very helpful while working on photos for products, profiles, websites and social media posts.
2. How to Zoom In on Photoshop
There are some occasions when you have to focus on some minor elements in your image which cannot be seen normally. Here is when the zoom tool comes into use.
It helps you get closer to the particular parts of your image. It is especially effective when removing small elements, editing the edges of hair or even making detailed clipping paths.
Different Ways to Zoom In on Photoshop
There are several simple ways to zoom in and out.
Method 1: Use the Zoom Tool
- Select the Zoom Tool from the toolbar.
- Click on the area where you want to zoom in.
- Continue clicking to increase the zoom level.
- To zoom out, press the Alt key on Windows or the Option key on Mac while clicking.
Method 2: Use Keyboard Shortcuts
- Press Ctrl + Plus (+) on Windows to zoom in.
- Press Ctrl + Minus (-) to zoom out.
- Press Ctrl + 0 to fit the image on your screen.
- Press Ctrl + 1 to view the image at 100%.
On Mac, replace Ctrl with Command.
Method 3: Use the Navigator Panel
Another way you can open the Navigator panel is through the Window menu.
The Navigator panel shows a preview of your image and lets you navigate and zoom around different parts of the image.
Being aware of these shortcuts will surely help you save a considerable amount of time.
3. How to Merge Layers in Photoshop
Layers play an essential role in Photoshop. Layers enable you to modify various parts of your image individually without modifying the whole thing.
You could have one layer for the background, another for the text, and another one for your product. Separating the components makes it easier to modify the image.
But sometimes, you would need to merge two or more layers into one single layer. This process is known as merging layers.
Steps to Merge Layers in Photoshop
- Open your Photoshop project.
- Find the Layers panel, usually located on the right side.
- Select the layers you want to combine.
- Hold Ctrl on Windows or Command on Mac while clicking multiple layers.
- Right-click on the selected layers.
- Choose Merge Layers from the menu.
Photoshop will combine the selected layers into a single layer.
Difference Between Merge Layers and Flatten Image
These two options are not exactly the same.
- Merge Layers: Combines only the selected layers into one.
- Merge Image: Integrates all visible layers into one background layer.
If you want to keep editing your design later, merging only the required layers is usually a better choice.
Always save a copy of your original project before flattening an image because you may lose the flexibility of editing individual elements.
4. Is There an Auto Mask in Photoshop?
Indeed, there are many options within Photoshop that provide automatic selection and masking capabilities.
Although Photoshop does not have only one tool named Auto Mask for each kind of work, there are options such as Select Subject, Remove Background, and Select and Mask.
These tools are really helpful in case you need to separate the object of your photo from the background.
How to Use Automatic Selection and Masking
Follow these steps:
- Open your image in Photoshop.
- Select the layer containing your subject.
- Open the Properties panel.
- Look for the Quick Actions section.
- Select Remove Background if the option is available.
- Photoshop will automatically detect the main subject and create a layer mask.
From the Select menu, you can choose the Select Subject option to automatically identify the primary object in your image.
Refine Your Selection with Select and Mask
Automatic selection does not always produce perfect results. Fine details such as hair, transparent objects, fur, and soft edges may need additional editing.
To improve your selection:
- Open the Select menu and choose Select and Mask.
- Use the Refine Edge Brush for difficult areas.
- Adjust the Smooth and Feather settings if needed.
- Check the edges carefully before applying the mask.
Automatic masking can save a lot of time, but manual adjustments are still important when you need professional-quality results.
5. How to Redo in Photoshop
While editing an image, you may accidentally undo an action or change something you actually wanted to keep. In that situation, the Redo command can help you restore your previous step.
Photoshop provides simple keyboard shortcuts for undoing and redoing actions.
Photoshop Redo Shortcut
- Ctrl + Z: Undo or toggle the previous action, depending on the Photoshop version and settings.
- Ctrl + Shift + Z: Redo an action on Windows.
- Command + Z: Undo or toggle the previous action on Mac.
- Command + Shift + Z: Redo an action on Mac.
You can also use the Edit menu and select Redo when the option is available.
Use the History Panel
Another helpful feature is the History panel. It enables you to return to prior editing stages.
To open it:
- Click on Window in the top menu.
- Select History.
- You will see a list of recent actions.
- Click on an earlier step to return to that stage of editing.
The History panel is particularly useful when you have made several changes and want to compare different editing stages.
6. Are There Any Photoshop-Like Free Programs?
Although Photoshop is a potent editing software, its subscription fee might not suit everyone. However, for those who are beginners and don’t wish to use Photoshop, here are some free software options for you to consider.
Here are some of them that might interest you.
GIMP
GIMP is free software for image editing that is open-source. It offers several useful functionalities such as layer editing, color correction, image retouching, and selection.
This is the ideal option for those seeking a desktop photo editing program without a subscription model.
Photopea
Photopea is an online image editing program that resembles Adobe Photoshop. It accepts PSD files, and has functions including layers, masking, selections, and filtering.
The most notable benefit of using Photopea is that you can access it through your internet browser without having to install any software on your computer.
Krita
Krita is a free and open-source application for digital painting. The application is popular amongst those artists who make digital drawings and illustrations.
It is not a substitute for Photoshop in the sense that it cannot edit photographs, but it does provide some features for creative works.
Pixlr
Pixlr is an online application that provides various editing features. This site is helpful for modifying images or designing graphics.
This version has some restrictions, but it may be useful in some cases.
It all depends on your needs and requirements. In case you want to make professional editing of images and use special features, Photoshop may be recommended.
7. Useful Photoshop Tips Every Beginner Should Know
Learning the basic tools is important, but a few simple habits can make your Photoshop experience much smoother.
Here are some practical tips to improve your editing workflow.
Always Work with Layers
Avoid making every change directly to the original image. Use separate layers whenever possible so you can easily adjust or remove individual edits.
Use Layer Masks Instead of Erasing
The Eraser Tool deletes pixels from a layer indefinitely. Layer masks allow you to hide and reveal parts of an image without permanently deleting them.
Learn Keyboard Shortcuts
Shortcuts for cropping, zooming, undoing, and selecting tools can help you work faster. You do not need to memorize everything at once. Start with the commands you use most often.
Save Your Work in PSD Format
PSD is Photoshop’s native file format. It preserves layers, masks, and other editable elements, allowing you to continue working on your project later.
Keep Your Original Images
Always maintain a backup of your original photographs. This is particularly important when editing product images or working on client projects.
Check Your Images at Different Zoom Levels
An image may look good when zoomed out but show rough edges or unwanted details when viewed closely. Check both the overall composition and smaller details before exporting.
8. Why Is Learning Photoshop Important for Photo Editing?
Photoshop is not only an application used for photo editing; it allows you to have control over the appearance of the photos and the message they convey.
It allows photographers to correct lighting, coloring, and quality of images; graphic designers to have creative possibilities for creating designs; and eCommerce retailers to produce high-quality images of their products.
Professional image editing is critical for online stores because customers make decisions based on product pictures they see.
A clear background, precise coloring, right shadowing, and good presentation of the product can make a huge difference.
Sometimes, certain editing needs may take a lot of time and experience to be done; this is why it is better to seek help from professionals for complex background removal, hair masking, many clipping paths, and product image editing.
Conclusion
Using Photoshop is not that difficult. You only need to learn the basics, and then you will start your image editing with much confidence.
This Photoshop Tutorial talked about some of the frequently asked questions by beginners, such as cropping in Photoshop, zoom in Photoshop, merging layers, automatic masking, redoing an action, and several Photoshop alternatives.
The best thing you can do for yourself is to practice often. You should begin with easy images, use various tools, and slowly progress to advance image editing techniques.
If you are into product photography or professional image editing, having the correct tools can assist you in getting quality images.
Clipping Pathify offers professional photo editing services like clipping path, background removal, photo masking, image retouching, and many others eCommerce photo editing services.